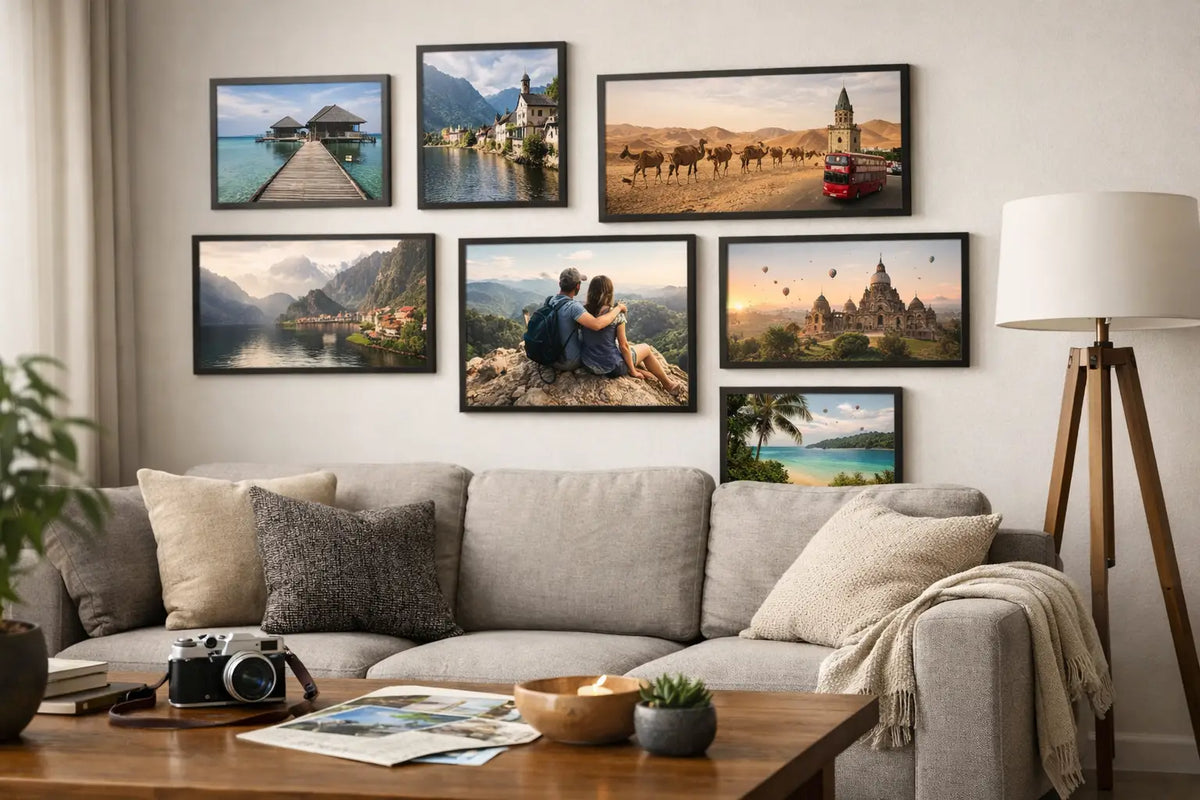

Hanging wall art without drilling made easy
A freshly painted wall, a rental apartment with strict regulations, or elegant bathroom tiles – there are many good reasons to hang wall art without drilling. However, to ensure a framed picture from Hamburg, New York, or Saint-Tropez looks its best, simply choosing any old adhesive strip won't suffice. Weight, wall surface, frame size, and the desired hanging time all determine whether your art will remain upright or need to be taken down again after a short while.
Hanging wall art without drilling: First check the frame and the wall.
Drilling is the classic and reliable solution for many framed pictures. However, working without drilling can also be perfectly effective – provided the mounting method is suitable for the specific situation. The overall weight is the most crucial factor. A small, lightweight poster has different requirements than a large-format wall art piece with a handcrafted frame and acrylic glass. The larger the format, the greater the tensile forces acting on the adhesive surface.
Therefore, before purchasing a fastener, don't just look at the packaging, but also at the manufacturer's specific weight capacity. Allow for some extra capacity instead of pushing a solution to its absolute limit. The back of the frame also deserves attention: Is it flat and clean? Are there pre-mounted hangers, a continuous surface, or protruding fittings? Adhesive systems require varying amounts of contact area depending on the design.
The surface is equally important. Smooth, firm, and clean surfaces such as painted doors, glass, smooth tiles, or well-adhering, even wall paint offer the best conditions. Textured wallpaper, rough plaster, sandy old paintwork, unplastered concrete, or walls with a chalky paint layer are more difficult. In these cases, the adhesive strip doesn't adhere too weakly—rather, the top layer of the wall often detaches along with it.
If you live in rented accommodation, don't rely solely on the promise of "removable without residue." While this might be true for a stable, intact surface, it always depends on the wall paint, the age of the paint, and the exposure time. If the wall is particularly sensitive, test it on an inconspicuous area first.
Which mounting hardware is suitable for your wall art?
For lightweight, small-format pictures, self-adhesive picture hooks or adhesive nails are an elegant choice. They are attached directly to the wall and then engage with the hanging mechanism on the back of the frame. The advantage: The frame hangs from a defined point and can usually be finely adjusted. With two hooks, the weight is distributed better and the picture stays more securely in position.
Hook-and-loop fasteners or strips for pictures are particularly suitable for frames with a very flat back. The frame and wall are fitted with matching pieces and pushed together. This ensures a flush fit, which looks especially neat and tidy with graphic designs and clean, modern interiors. However, the height is almost impossible to adjust once pressed into place. Therefore, measure and mark very carefully.
Self-adhesive hooks with a higher load-bearing capacity can be useful for medium-sized frames, provided the wall and the manufacturer's specifications are suitable. Ensure that the hook does not cause the frame to protrude visibly from the wall. With a slim frame profile, a discreet hanging solution usually looks significantly more sophisticated than a large, technical hook.
Poster strips or removable adhesive dots are suitable for very lightweight, unframed prints. However, they are rarely the right choice for high-quality, framed photographic art. They can exert pressure on the frame edge, hold the image unevenly, or detach due to temperature changes. A carefully crafted frame deserves a mounting system that can support its weight securely.
How to prepare for assembly
The most common mistake happens before the first adhesive dot is applied: the wall isn't cleaned. Dust, kitchen film, cleaning products, or fine residues on tiles significantly reduce adhesion. Wipe the desired area with a suitable, residue-free cleaner and allow it to dry completely. Do not use heavily oily household wipes.
Next, lay the picture out on the floor or a large table. Check where the hangers are located and how high you want the frame to hang. Mark the position very discreetly with a pencil or use painter's tape. If you have several pictures, it helps to mark the outer edges on the wall with strips of paper or tape. This way, you can see how they will look without actually hanging anything.
Patience is key with adhesive systems. Press the elements firmly into place for the specified time. Many systems only reach their full adhesive strength after a waiting period. Hanging the frame immediately deprives the adhesive of the time it needs to form a strong bond.
Also, keep an eye on the room's climate. Adhesion can be compromised if the artwork is placed directly above a radiator, on a window front exposed to strong sunlight, or in a humid bathroom. Large-format wall art, in particular, should not be hung where heat and humidity fluctuate frequently.
The correct position makes wall art appear larger.
A drill-free hanging system isn't just practical. It gives you the freedom to experiment with different motifs and design a room more precisely. Don't hang a single picture too high: as a guideline, it usually works well if the center of the image is roughly at eye level. Above a sofa, sideboard, or bed, the picture can be hung slightly lower so that it remains visually connected to the piece of furniture.
A single, narrow picture often looks lost above a wide piece of furniture. Either choose a larger custom format or create a harmonious arrangement with two or three coordinated frames. Coastal scenes from Sylt or the Hamptons lend a bright living area a sense of airiness and spaciousness. Architectural photography from New York, on the other hand, makes a striking statement in studies, hallways, or urban-style apartments.
When creating a gallery wall, a unifying element is beneficial: the same frame color, a recurring white border, or a consistent color scheme. Don't rely solely on visual cues for spacing. A consistent gap of a few centimeters between frames appears deliberate, while random gaps quickly look cluttered. When using multiple frames, try to use a uniform mounting system so they sit flush.
When you should avoid a drill-free solution
There are situations where a smaller dowel is the better choice. Very large or heavy frames, valuable individual pieces, heavily textured walls, and areas with high humidity require a mechanically robust mounting. In passageways where doors slam or people frequently pass by, safety should also take precedence over a residue-free solution.
This also applies to frames that protrude noticeably from the wall, or to hangers explicitly designed for nails and screws. An unsuitable adhesive solution can not only damage the wall, but also endanger the frame, acrylic glass, and floor. What looks professional is not what is invisibly mounted, but what hangs securely and permanently.
For hand-framed pictures delivered ready to hang, the existing hanging hardware is a good starting point for your planning. Cosman Photocollection supplies its wall art with suitable hanging devices – for drill-free mounting, you then choose a system that is perfectly suited to the picture, the frame's weight, and your wall.
Small control, big impact
Check your picture occasionally during the first few days: Is it straight, is the frame flush, and is there no tension on the wall around the mounting point? Lightweight wall art can be easily repositioned for seasonal decorations or room redesigns without leaving behind a series of unnecessary drill holes.
Choose the mounting hardware as carefully as the artwork itself. Then a blank wall won't become a compromise, but rather the serene, elegant space for precisely the picture that gives your home character.